After years of using SSDs, I had almost entirely forgotten how annoying the sound of actual, spinning hard disk platters is. That is, until I bought a Synology DS420+ NAS earlier this year to set up as a home media server. (Lockdown projects, yay!)
The usual advice here is to simply place your NAS somewhere out of earshot. But if you want to connect your NAS via a 1 Gbps ethernet hookup, your choices may be more constrained. In my case, there was only one suitable location—in my home office, on the shelf behind my desk.
A prelude on acoustics
I don’t have much prior knowledge of acoustics, besides knowing the fact that decibels are measured in $\log_{10}$ scale. To be honest, I’m still kind of talking out of my ass here, but I realized in retrospect that thinking through the nature of the problem before jumping to solutions would have saved me some wasted effort.
Source of the sound
As far as I can tell, there are three fundamental sources of sound coming from my NAS:
- Spinning disks – A constant hum that is present whenever the drive is powered up—which, for a NAS, is probably all the time. Drives that spin at 5400 rpm are generally—but not always—quieter than comparable disks that spin at 7200 rpm.
- Read/write operations – The quintessential “hard drive sound”, which occurs when the drive is actually being used, and so can vary minute-to-minute.
- Cooling fan – A relatively constant hum, but whose pitch and volume can vary, based on how much cooling your NAS decides it needs.
Travel path of the sound
While all sound is technically just vibrations being transmitted through the air, there are a few different “paths” it can take, which has practical implications for how you should approach noise reduction:
- Between disk drive and NAS unit
- Between NAS unit and hard surface
- Directly through the air
Isolate drives from enclosure
The most common recommendation that comes up for “Noisy Synology NAS” is to attach some sort of velcro/felt/foam to the drive sleds, along the lines of this youtube video. Although I found the stock sleds to be reasonably snug, adding some velcro/felt/foam padding removes any remaining vertical wiggle room within which the drive itself could vibrate.
I initially tried attaching foam velcro dots to the drive sleds themselves, but didn’t notice any major improvement. Unsure of whether the flaw was in the solution or my implementation, I picked up a strip of single-sided 1 mm foam tape, and tried again, this time taping the metal on the enclosure itself. This provided a nice snug fit for the drive sleds, but once again did not result in any noticeable difference in sound.
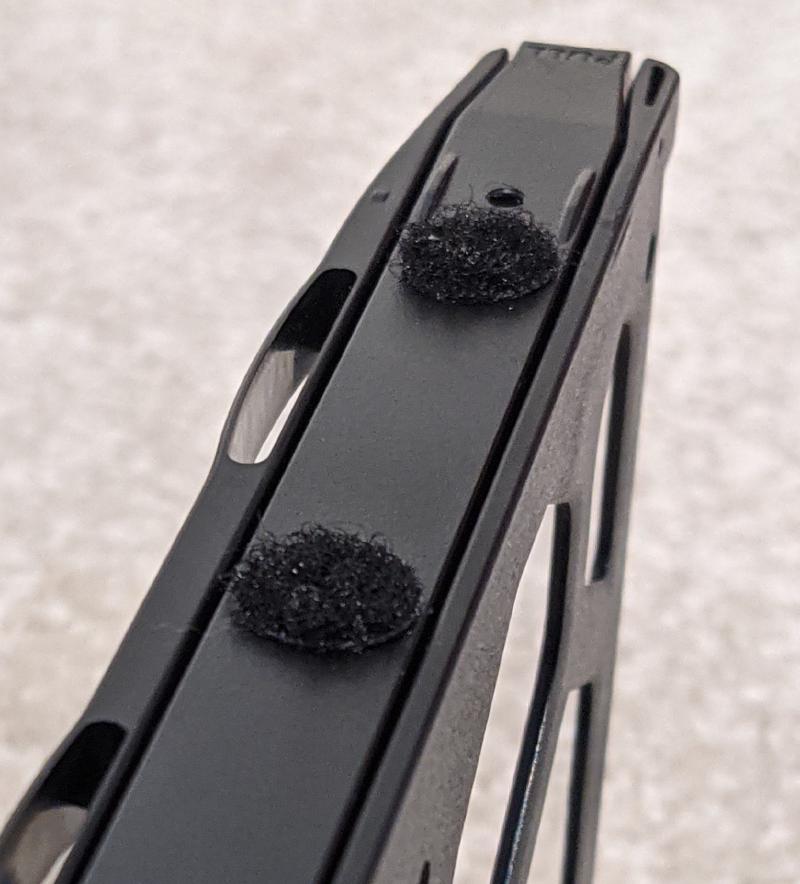
I had some velcro dots lying around.

But 1 mm foam tape works even better.
Why didn’t this help much? I suspect that a particular combination of particular hard drives spinning at a particular speed may cause a resonance problem for some people. If your NAS is generally quiet, but occasionally gets extremely noisy, this may be your problem. If your NAS is consistently loud, you can probably skip this entirely.
Isolate enclosure from surface
Even with foam padding, the hard drives are physically still connected to the NAS board, and so will transmit some vibrations through to the enclosure itself. So my next attempt was to reduce the amount of vibrations being transmitted from the NAS itself to the surface it sits on. My NAS is sitting on an IKEA Kallax shelf, and I could clearly feel the read/write vibrations being transmitted into the shelf by feeling from the cubby below.
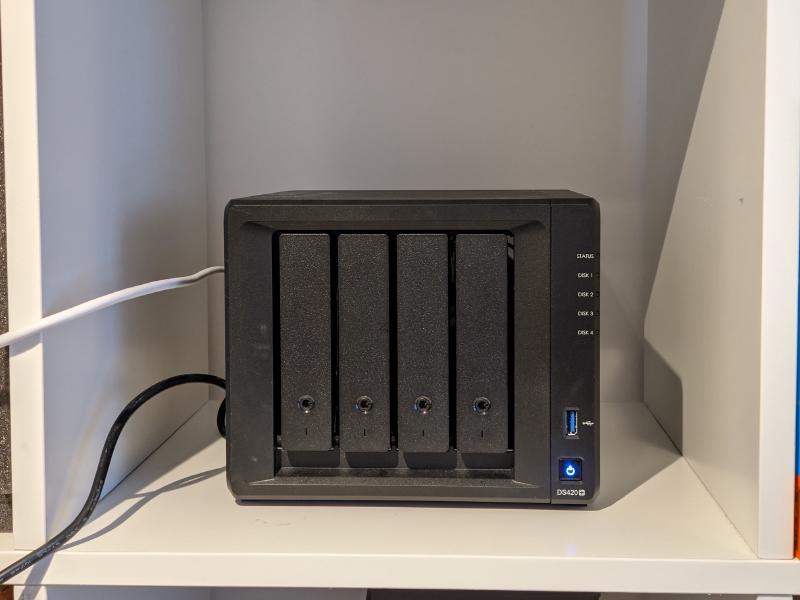
You can feel the vibrations propogating through the shelving unit.
I picked up a set of three-layer EVA anti-vibration pads recommended in this How-To Geek article. They kind of helped, but I could still clearly feel the write operations through the shelf. In retrospect, these pads seem to be designed for much heavier equipment, incl. washing machines and air compressors. So they are probably much more dense than would be optimal for a relatively lightweight NAS.

These EVA foam feet didn’t help much.
What worked better was a few layers of much softer foam. I had some spare acoustic foam (originally purchased for step #3) that did the trick, but I suppose you could also just pick up a solid foam block from an arts and crafts store. Alternatively, you could perhaps create some sort of makeshift hammock to suspend the NAS in the air.
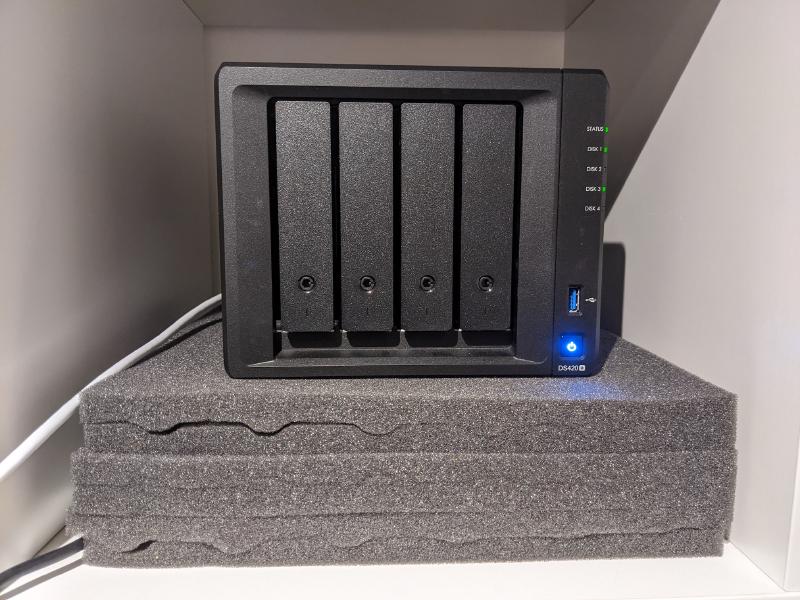
A thick bed of soft foam worked best.
Dampen sound travel through air
If your NAS is not rattling, and the vibration is not being transmitted to the surface it is sitting on, the only real remaining source of noise transmission is through the air itself.
Acoustic foam panels
I bought a set of 30 cm acoustic foam panels from AliExpress. I have no clue whether these panels have the ideal acoustic properties, but they were cheap. I installed a KALLAX door insert and then affixed the panels to the inside surfaces.
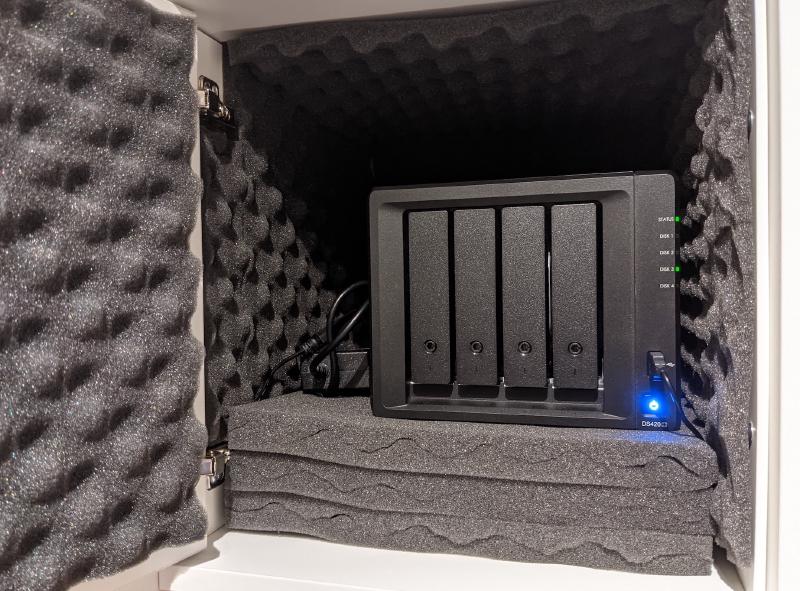
My end state.
Beware of heat
This worked very well, but introduced a different problem—heat. Even though it wasn’t a perfect seal, things got a bit toasty inside the cubby with the door closed. The NAS still worked, but I was uneasy about the long-term implications on drive lifespan. I subsequently cut out a square hole in the back of the insert and installed an 80 mm USB fan. This entirely solved the heat issue, but reintroduced some noise. It’s a reasonable trade though, because I find the constant sound from a fan to be much less intrusive than the intermittent sound of disk I/O operations.
Epilogue
What I’d do differently
If I were starting from scratch, would I take the same approach? Probably not.
My NAS is now quiet enough, but it’s not particularly modular—moving the NAS would require moving the entire shelf with the soundproof insert, or disassembling the insert and installing it in another KALLAX unit.
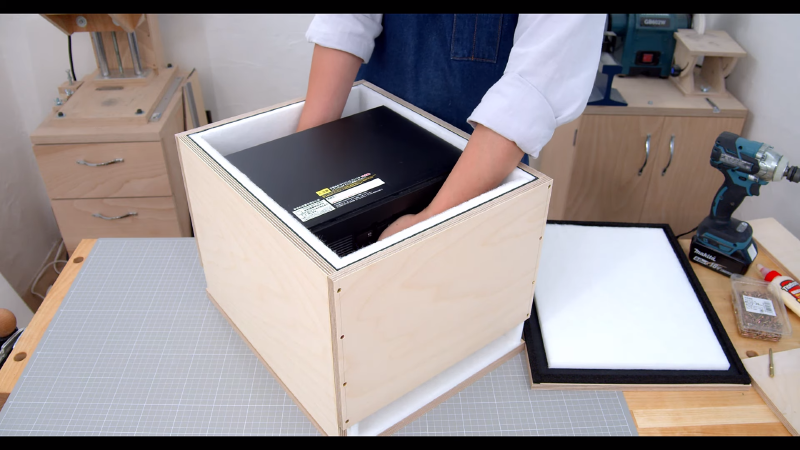
I may embark on building a custom soundproofed box at some point, as a potential future woodworking project. Something along the lines of this custom NAS box, but perhaps employing more surface area of insulation material, as done in this PC build.
Firmly on my “someday/maybe” project list, for now at least.
An afterword on acoustics testing
I initially intended to measure and compare the noise levels between each approach I tried, but abandoned this mid-way through when I realized that the free “noise meter” app I downloaded from Google Play wasn’t doing a great job of capturing my own perceptual sense of each approach.
Two thoughts on why measuring and comparing average dB didn’t prove to be as useful as I expected:
- It is extremely sensitive to ambient factors – Before taking measurements, I put my laptop to sleep, closed the door, and made sure to breath quietly and barely move. But even with these precautions, some ambient noise snuck in, including traffic from outside my window, or the upstairs neighbour doing laundry.
- Quality of noise matters, not just quantity – Our perception of sound is not just a function of quantity but also quality. In retrospect, what I found annoying about the disk drives was not the absolute volume level, but the intermittent and “clicky” nature of the I/O operations. Because these sounds are not constant, they contribute much less to the measurements of “average dB” than they do to my own subjective perception of overall noise level.
So if I were to try this again, I would explore either measuring something like the 80th percentile of noise level, rather than the average. This would make it more robust against “outlier” ambient noises, and also more accurately capture the influence of intermittent I/O operations.